Sync computer to git cloud:
Git: version control system that tracks changes.
Only Desktop or Phone app open at 1 time, otherwise git sync might mess up.
1. Install git:
check:
Computer Linux Mint 21.3 Virginia Cinnamon → Terminal → $ git --version → select Enter → output: blank →
install:
$ sudo apt install -y git → select Enter →
check:
Terminal → $ git --version → select Enter → output: git version 2.34.1.
1.1. set git username:
Desktop → Terminal → $ git config --global user.name “<username (eg nickname, first name only, but not full name)>” (tip: best practice code is to replace <fillerText> and delete < >) → select Enter →
check:
git config --global user.name → select Enter → outputs username.
1.2. set commit email address:
Unsure why, skip for now?
Desktop → Terminal → $ git config --global user.email “<emailAddress>” → select Enter → git config --global user.email → select Enter → outputs email.
1.3. git cloud account sign in:
Github has a free student pack, handy for sync app Working Copy.
https://github.com → Sign in → enter username → enter github.com password →
create repository:
Github Dashboard → select + sign (Create new…top near right) → select New repository → Owner → Repository name: enter repository name, logseq-repo (don’t use Logseq, as this will confuse sync setup) → Description: logseq-repo repository is viewed in Logseq desktop app, Logseq and Working Copy phone app directories → select Private → tick Add a README file (so git cloud has a file to start pushing and pulling) → select Create repository.
2. Clone repo to computer:
2.1. github:
copy repo URL:
Github Dashboard → select repository logseq-repo → Local → Clone → HTTPS → https://github.com//logseq-repo.git → select Copy url to clipboard (double squares icon) → Copied!
2.2. linux mint:
Linux Mint 21.3 Virginia Cinnamon 64-bit (LM 21.3) → Terminal → navigate to your preferred directory for Logseq’s git repository (maybe ~/Documents?) → ~/Documents$ git clone <paste address copied from github repository (https://github.com/username/repositoryName.git)> → select Enter → enter github username: → select Enter → enter github password: → select Enter → ls → select Enter → output: logseq-repo (new git directory).
check cloned repo data:
LM 21.3 → Terminal → $ cat ~/Documents/logseq-repo/README.md → select Enter → output: description, from cloned repo.
credentials added automatically:
Auto store for auto push/pulls.
LM 21.3 → Terminal → $ git config --global credential.helper store → select Enter → git pull → select Enter → output: Already up to date.
2.3. auto sync from computer Logseq to git cloud:
add files:
post-commit and pre-commit to ~/Documents/logseq-repo/.git/hooks with your favourite editor
or
GitHub - charliie-dev/Logseq-Git-Sync-101: This repo aims to help Logseq users to sync their data with Git and GitHub. → select Code → select Download ZIP → select Save → extract the downloaded Logseq-Git-Sync-101-main.zip → open ~/Downloads/Logseq-Git-Sync-101-main/git-hooks → move post-commit and pre-commit to ~/Documents/logseq-repo/.git/hooks/ →
permissions:
make post-commit and pre-commit executable files Terminal:~/Documents/logseq-repo/.git/hooks$ chmod +x ./post-commit && chmod +x ./pre-commit → select Enter.
check:
Terminal → $ ls -al ~/Documents/logseq-repo.git/hooks → select Enter → output: -rwxrwxr-x (previously -rw-rw-r–).
2.4. download Logseq:
Download and install from LM 21.3 software manager → open Logseq (Release 0.10.7) → select Add a graph (top near right) → select Choose a folder → Portal/File Manager opens → select ~/Documents/logseq-repo (logseq-repo highlighted, don’t go into the logseq-repo directory) → select Select.
check:
Directory should now include directories: journals, logseq, pages and file README.md → open README.md to see cloned repo description.
logseq settings:
Logseq Desktop → select More (top towards right, ellipse icon) → select Settings → select Version control → enable Enable Git auto commit → enable Git commit on window close → Git auto commit seconds: 60 → select X to close window.
check auto sync:
Open Logseq Desktop → in Logseq Journals: type test<YYYYMMDDhhmm> → wait 60 seconds → refresh github.com/username/repository → select journals → select YYYY_MM_DD.md → output: testYYYYMMDDhhmm, matching the Logseq Desktop journal text.
Sync phone to git cloud:
Close Logseq on Desktop.
1. Install Logseq app:
iPhone X iOS 16.3.1 (phone) → open App Store → Search: logseq → select logseq → find Logseq Productivity → select Download → select OPEN (automatically creates a Logseq directory in Files app → iCloud Drive and On My iPhone).
2. Install Working Copy 5.9.6 app (does free app work?):
Paid Working Copy app $29.99 lifetime might be needed
or
Free student pack: https://education.github.com/pack → select Sign in → select Students → select Get Your Student Developer Pack → navigate to Working Copy → select Get access by connecting your GitHub account on WorkingCopy → iPhone → install Working Copy app → iPhone browser → workingcopyapp.com/education/verify/ → select ‘here’ to verify student status → Working Copy app opens → select Settings → Colour Scheme → select Dark → new page opens asking for payment for Dark → wait for processing and app shows ‘firstName is registered as a student’ and app is fully paid.
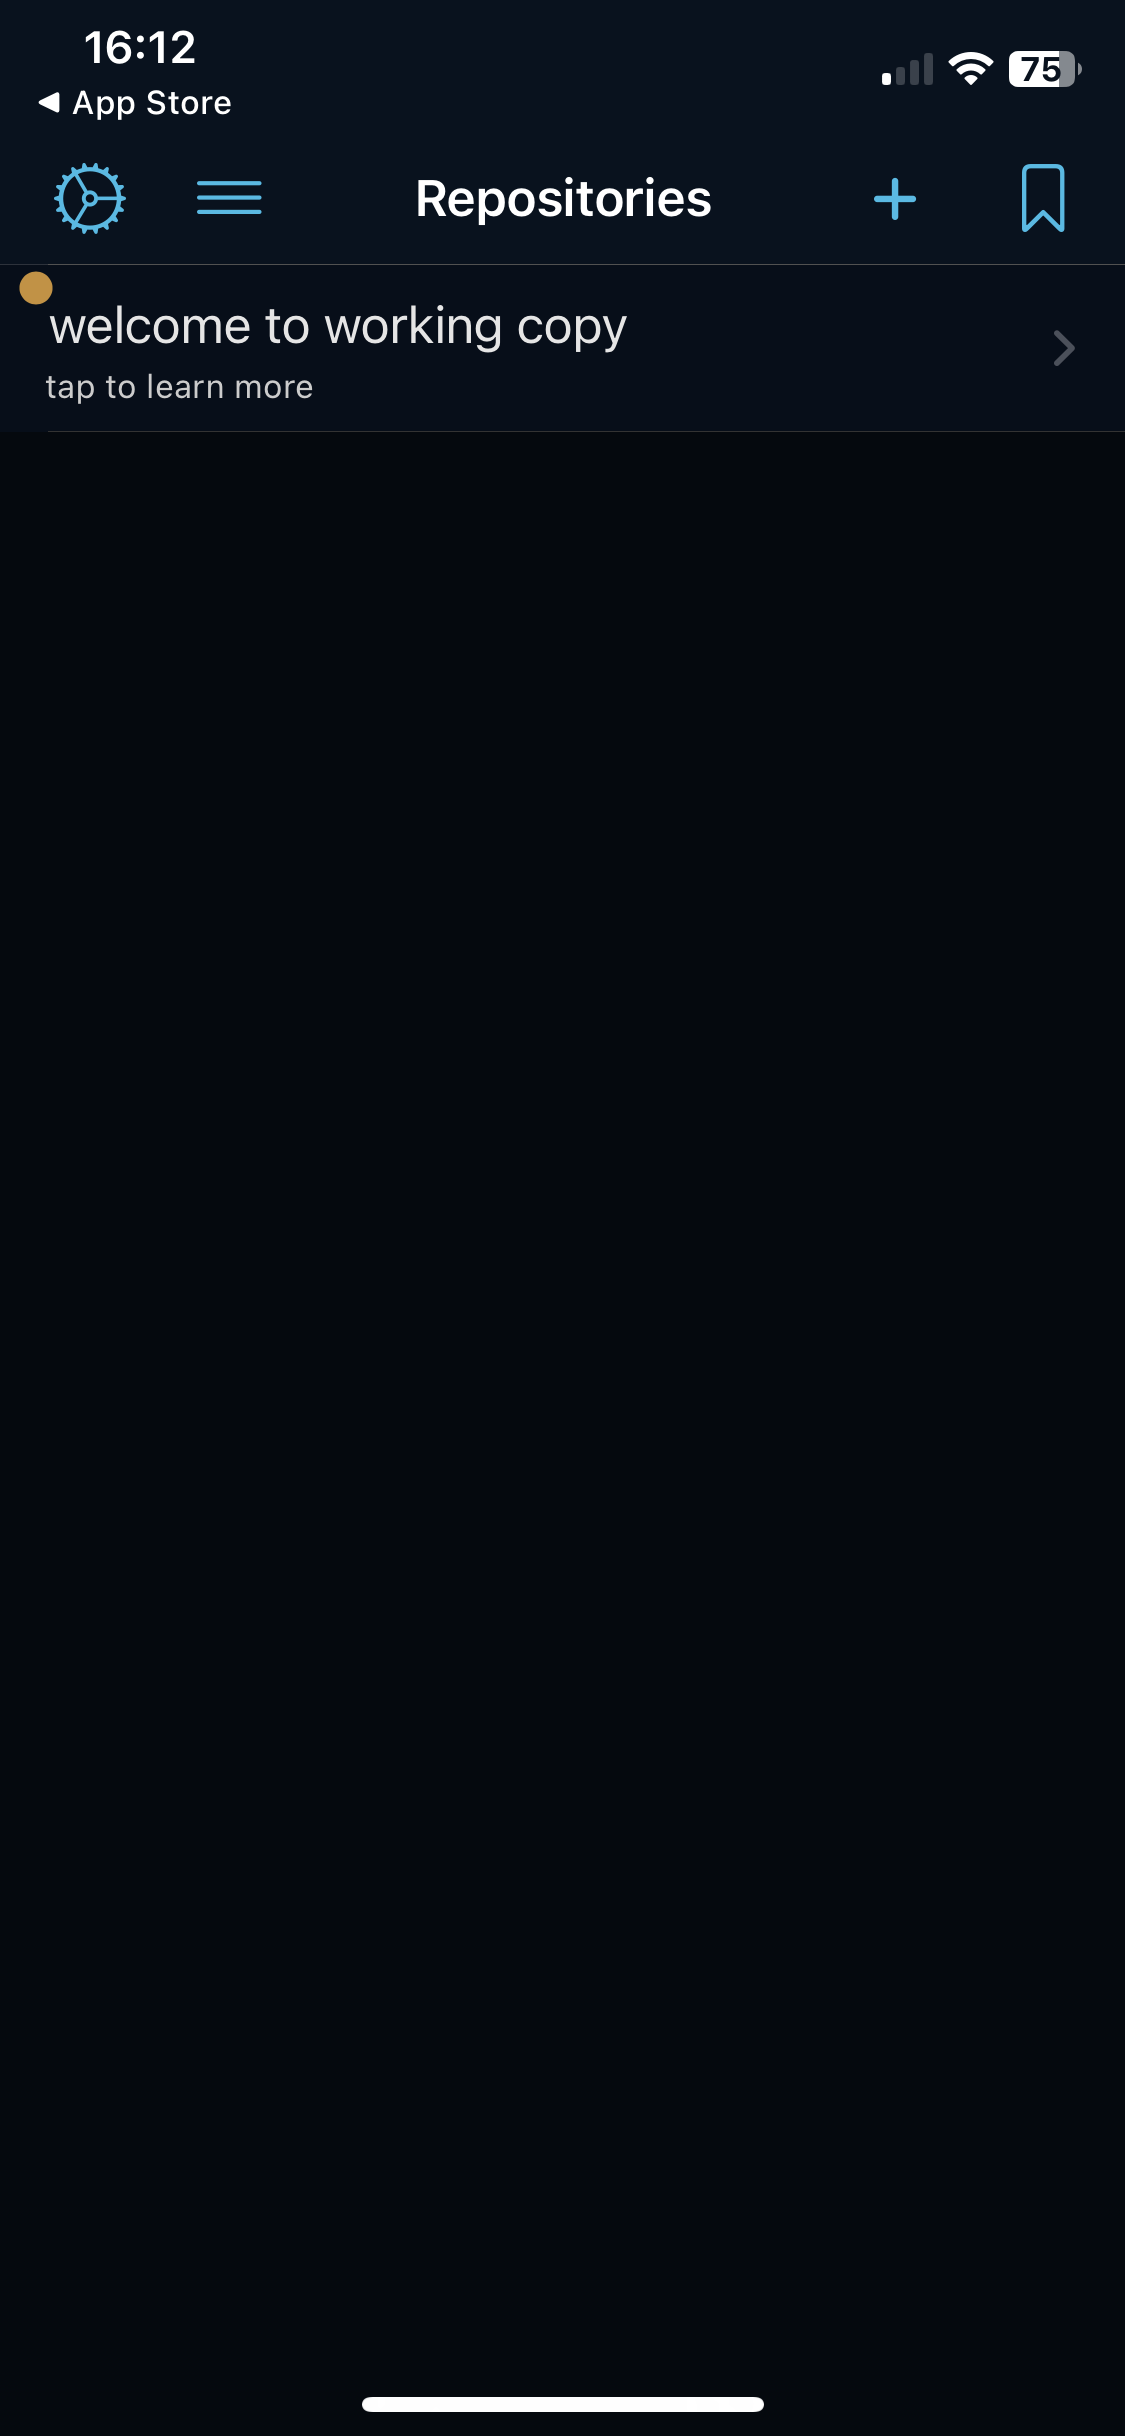
Phone → select App Store → Search: enter working copy → select working copy - git client → select download → select OPEN →
2.1. add clone repository:
Working Copy app → Repositories: select + (near top right) → select Clone repository → Clone repository: select GitHub → Clone repository: select Sign In →
2.2. sign in:
Phone → Working Copy → github.com → Username or email address: enter github account email address → Password: enter github account password → select Sign in → Authentication code: enter MFA authentication code → select Verify →
alternative:
select URL → enter URL (field above URL button): git@github.com:<gitHubUserName/gitHubRepositoryName>.git (<gitHubUserName>/Logseq) → select Clone → Logseq data should appear from GitHub.
2.3. clone:
Phone → Working Copy app → Clone repository → GitHub → Private → select logseq-repo git@github.com:<githubUsername>/logseq-repo.git → Clone repository: select Clone → Connecting… → logseq-repo repository data should appear, cloned from GitHub cloud.
2.4. check clone is correct:
Phone → Working Copy app → Repositories → logseq-repo (cloned repository)-> select journals → main → select YYYY_MM_DD.md → output: - testYYYYMMDDhhmm (data cloned from the git cloud account repository logseq-repo, in turn pushed from Logseq Desktop to git repository logseq-repo).
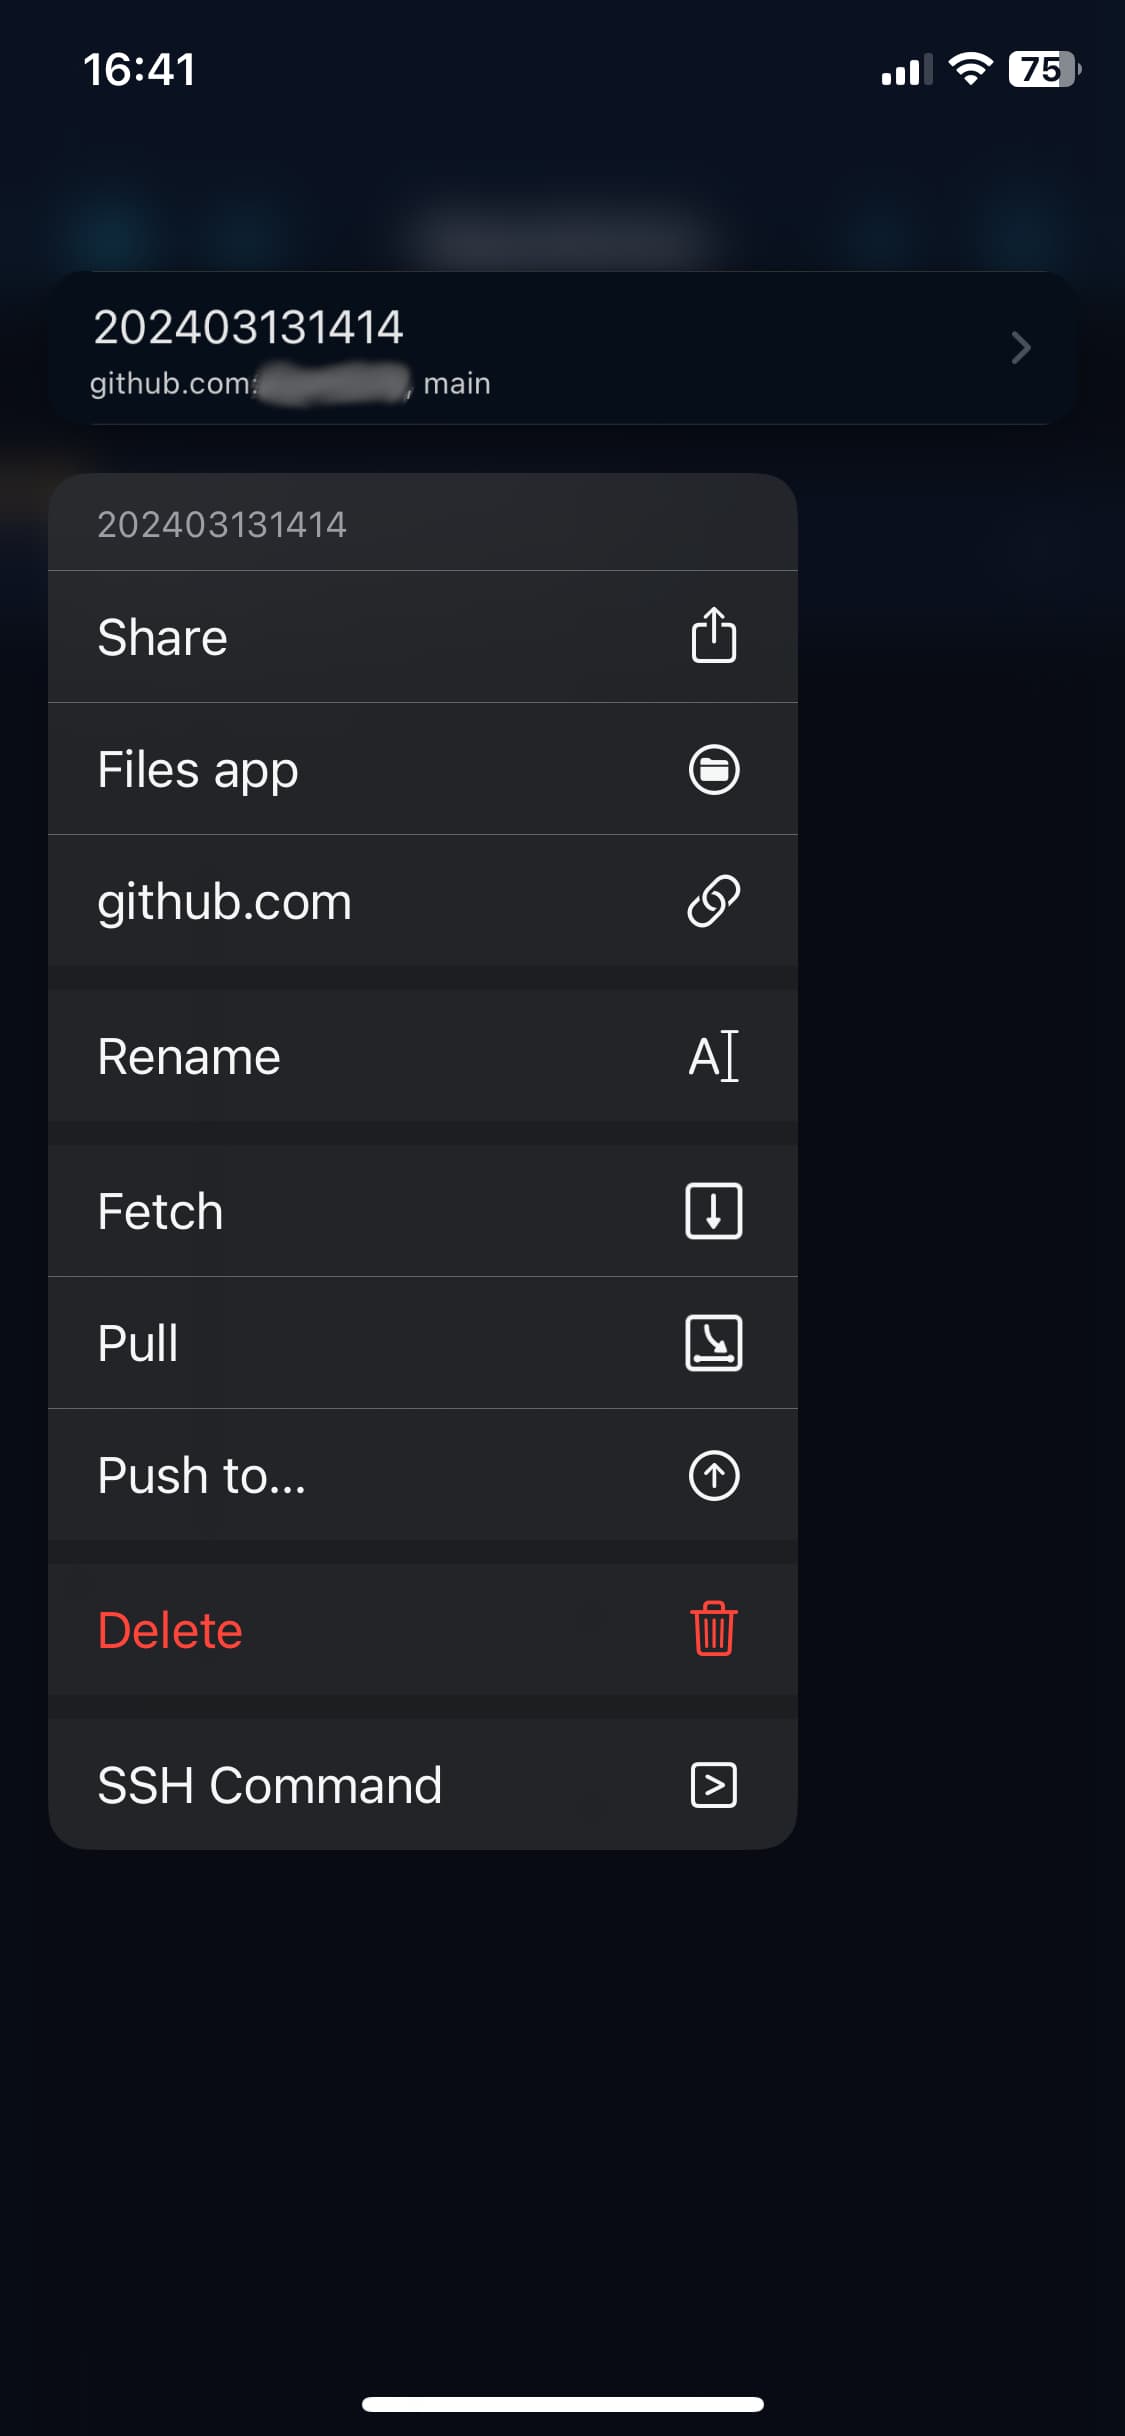
3. Connect Working Copy to a new phone sync directory:
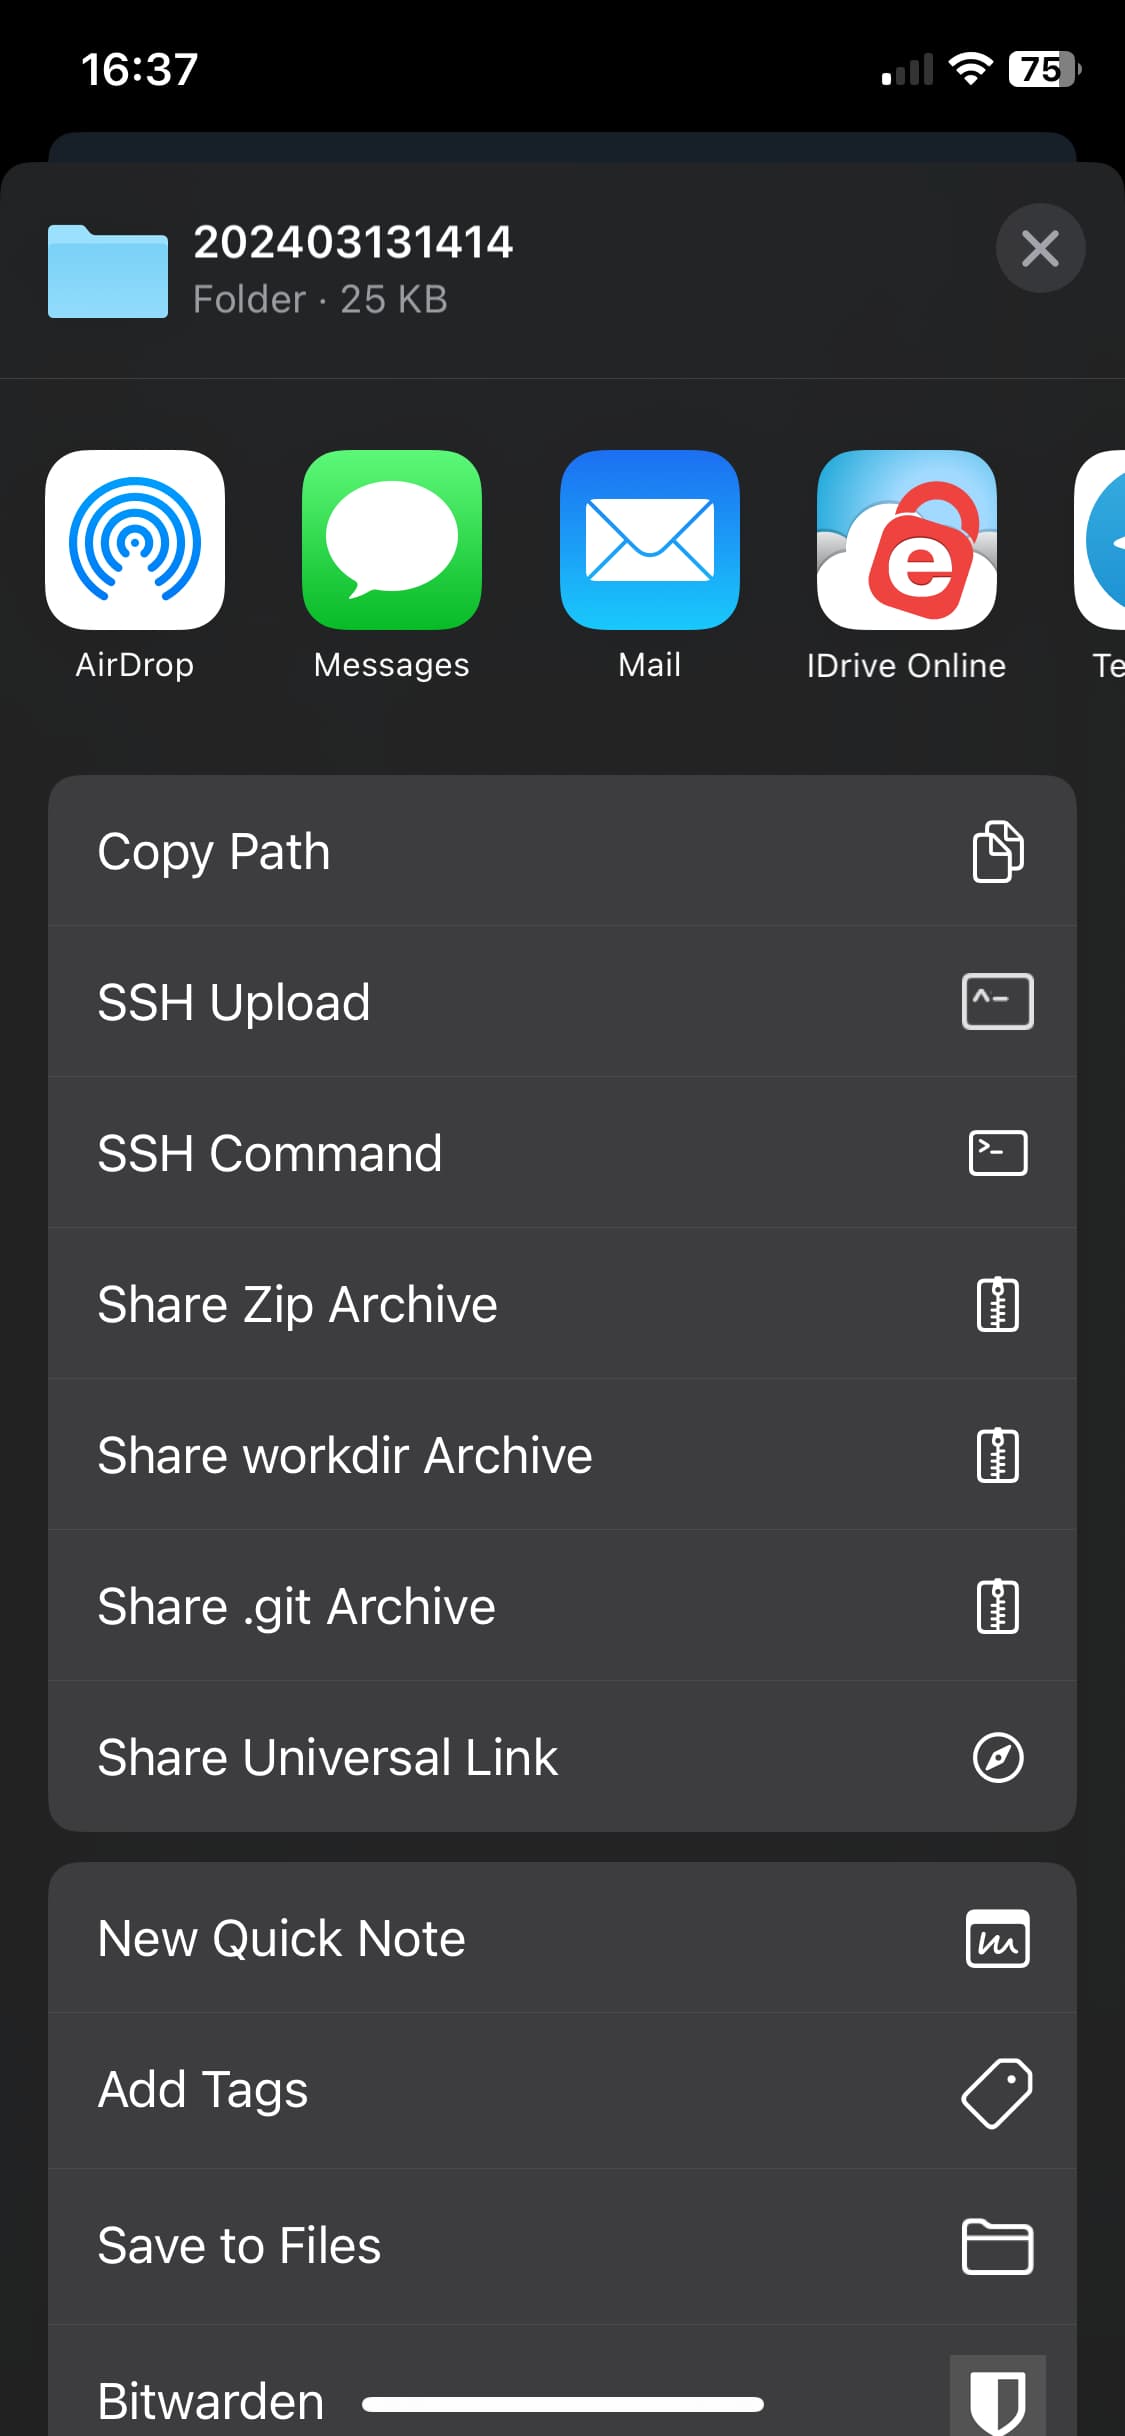
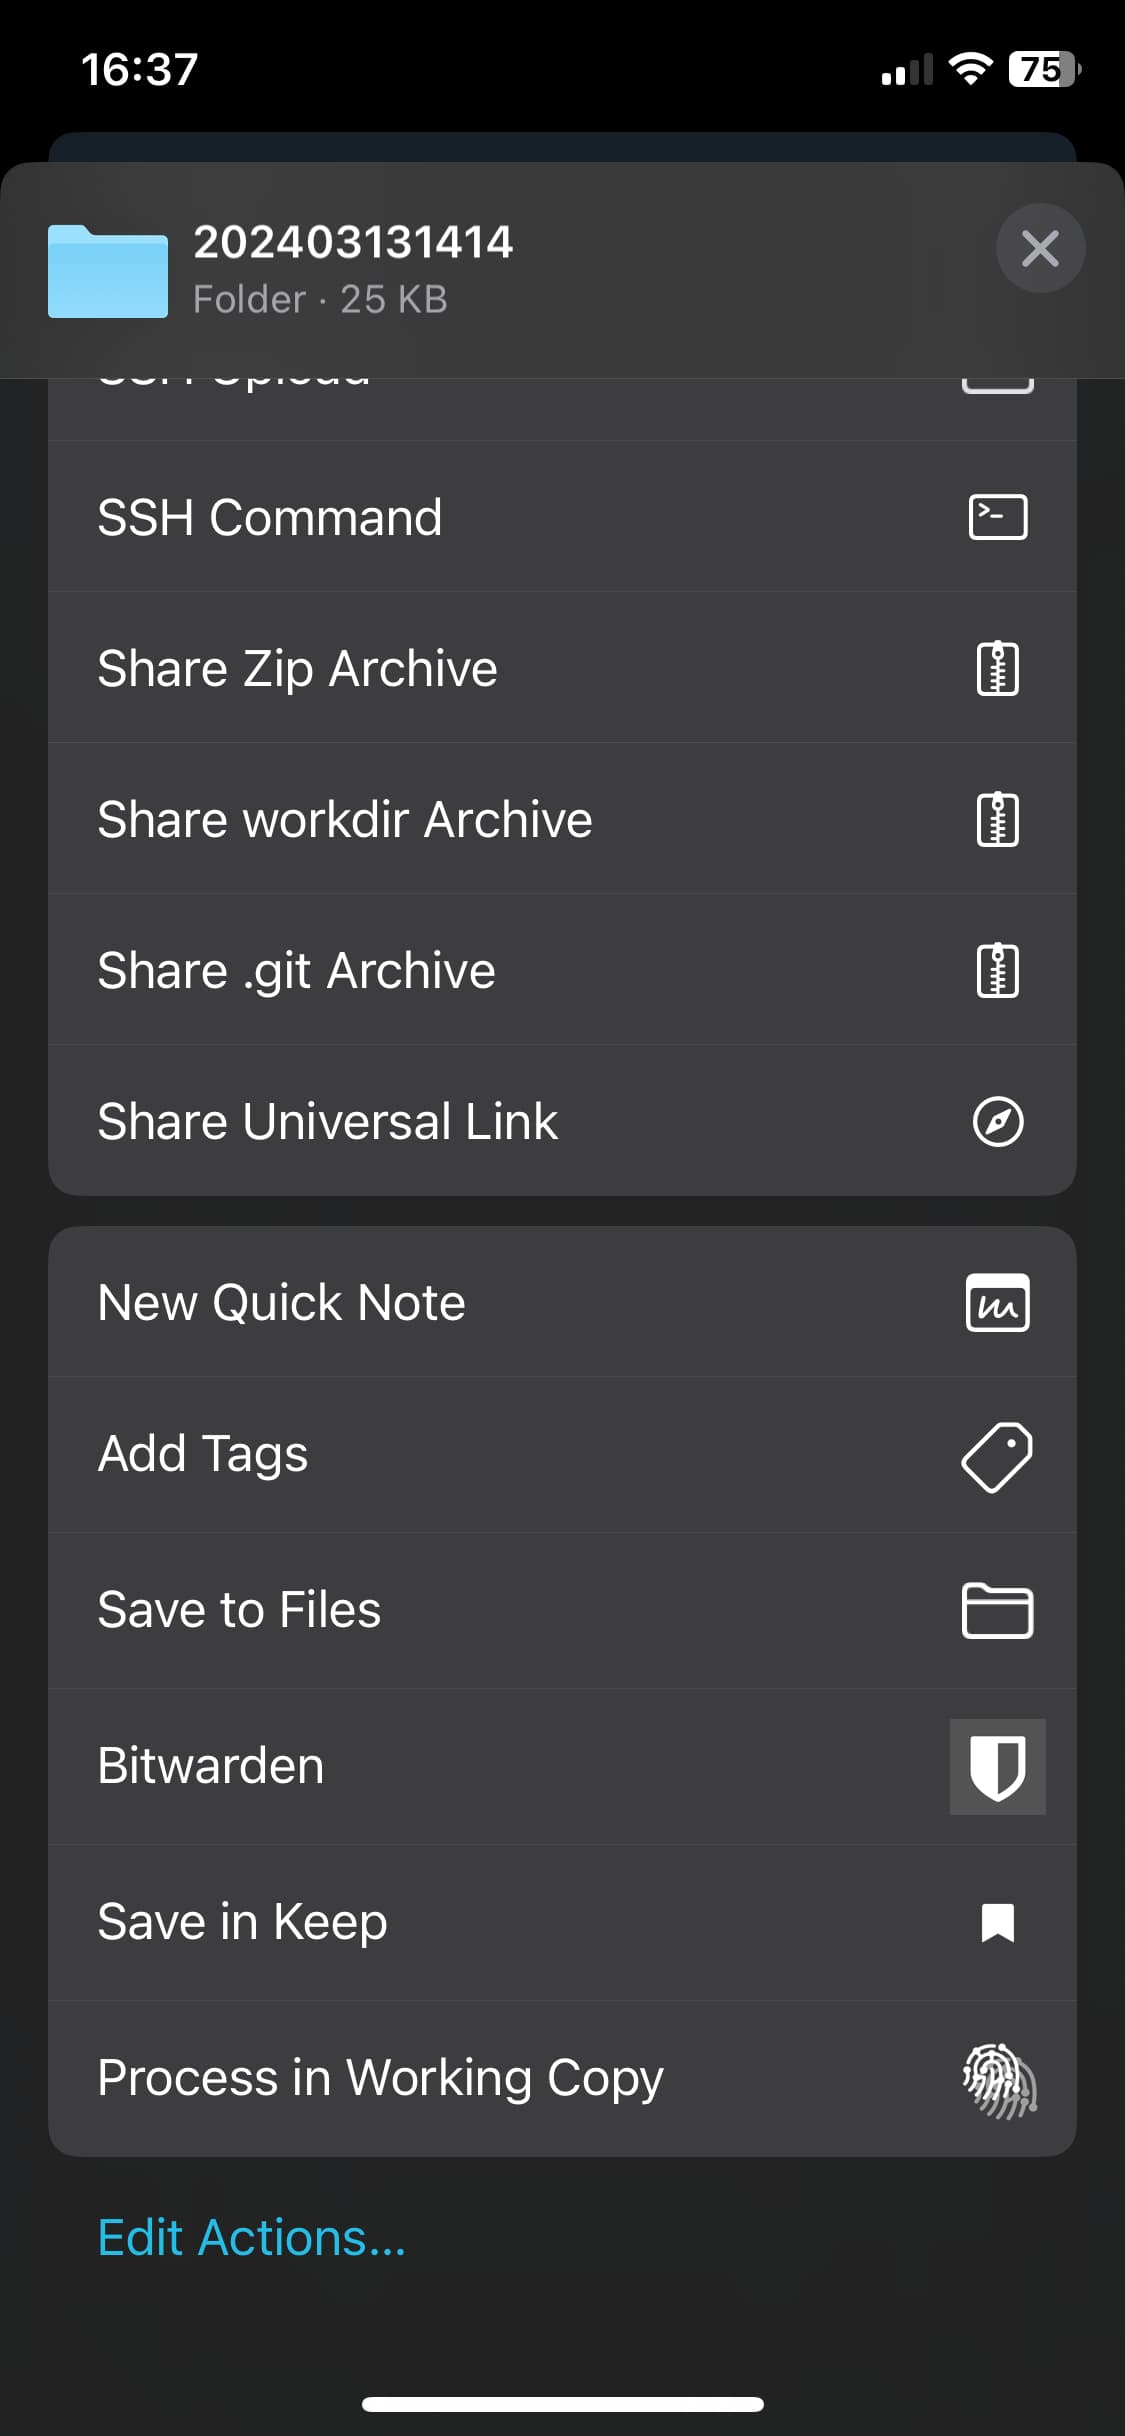
Phone → Working Copy → Repositories → select cloned repository logseq-repo → logseq-repo: select Repository Status and Configuration (3rd row from top) → logseq-repo: select logseq-repo down arrow/caret (top, right of text logseq-repo) → select Link Repository to → select Directory → some page opens from the phone Files app Browse tab → navigate to Files app top page, Browse (select Back, top left) → Browse → Locations → select On My iPhone → select Logseq directory → Logseq: hold down in a blank space (Folder is Empty) → select New Folder → enter new name: SyncLogseqViaWorkingcopyWithGit (different name from the cloned repository logseq-repo) → select done → SyncLogseqViaWorkingcopyWithGit Browse tab: select Open (top right).
check new directory:
Phone → open Files app → Browse → Browse tab → navigate to Files app top page, Browse (select Back, top left) → Browse → Locations → select On My iPhone → select Logseq directory → select SyncLogseqViaWorkingcopyWithGit directory → select journals → select YYYY_MM_DD → output : - testYYYYMMDDhhmm (from cloned git cloud repository).
4. Logseq app new graph:
4.1. create a new graph:
Phone → open Logseq → Welcome to Logseq! → select Create a new graph → What’s the graph name? Test → iCloud sync disabled (option button with white hard to see text) → select Create →
4.2. set location to sync directory:
Files app → Browse tab → navigate to Files app top page, Browse (select Back, top left) → Browse → Locations → select On My iPhone → select Logseq directory → Logseq: SyncLogseqViaWorkingcopyWithGit (created by you just before) and TestYYYYMMDDhhmm (cloned repository to Working Copy from git account) → select SyncLogseqViaWorkingcopyWithGit directory (directory linked to Working Copy) → select Open.
4.3. check new graph:
Phone → open Logseq → journal showing Mon DDxx, YYYY → - testYYYYMMDDhhmm (data from cloned logseq-repo) → enter: Test<YYYYMMDDhhmm> (current time, later than original logseq-repo) → open Files app → navigate to Files app top page, Browse (select Back, top left) → Browse → Locations → select On My iPhone → select Logseq → select SyncLogseqViaWorkingcopyWithGit → select journals → select most recent file (previous test file should also be in journals) → text should show data from iPhone app Logseq’s new graph: - TestYYYYMMDDhhmm (original logseq-repo test) and - TestYYYYMMDDhhmm (current time, later than the original logseq-repo).
5. Auto sync open and closed app:
5.1. pull data to phone:
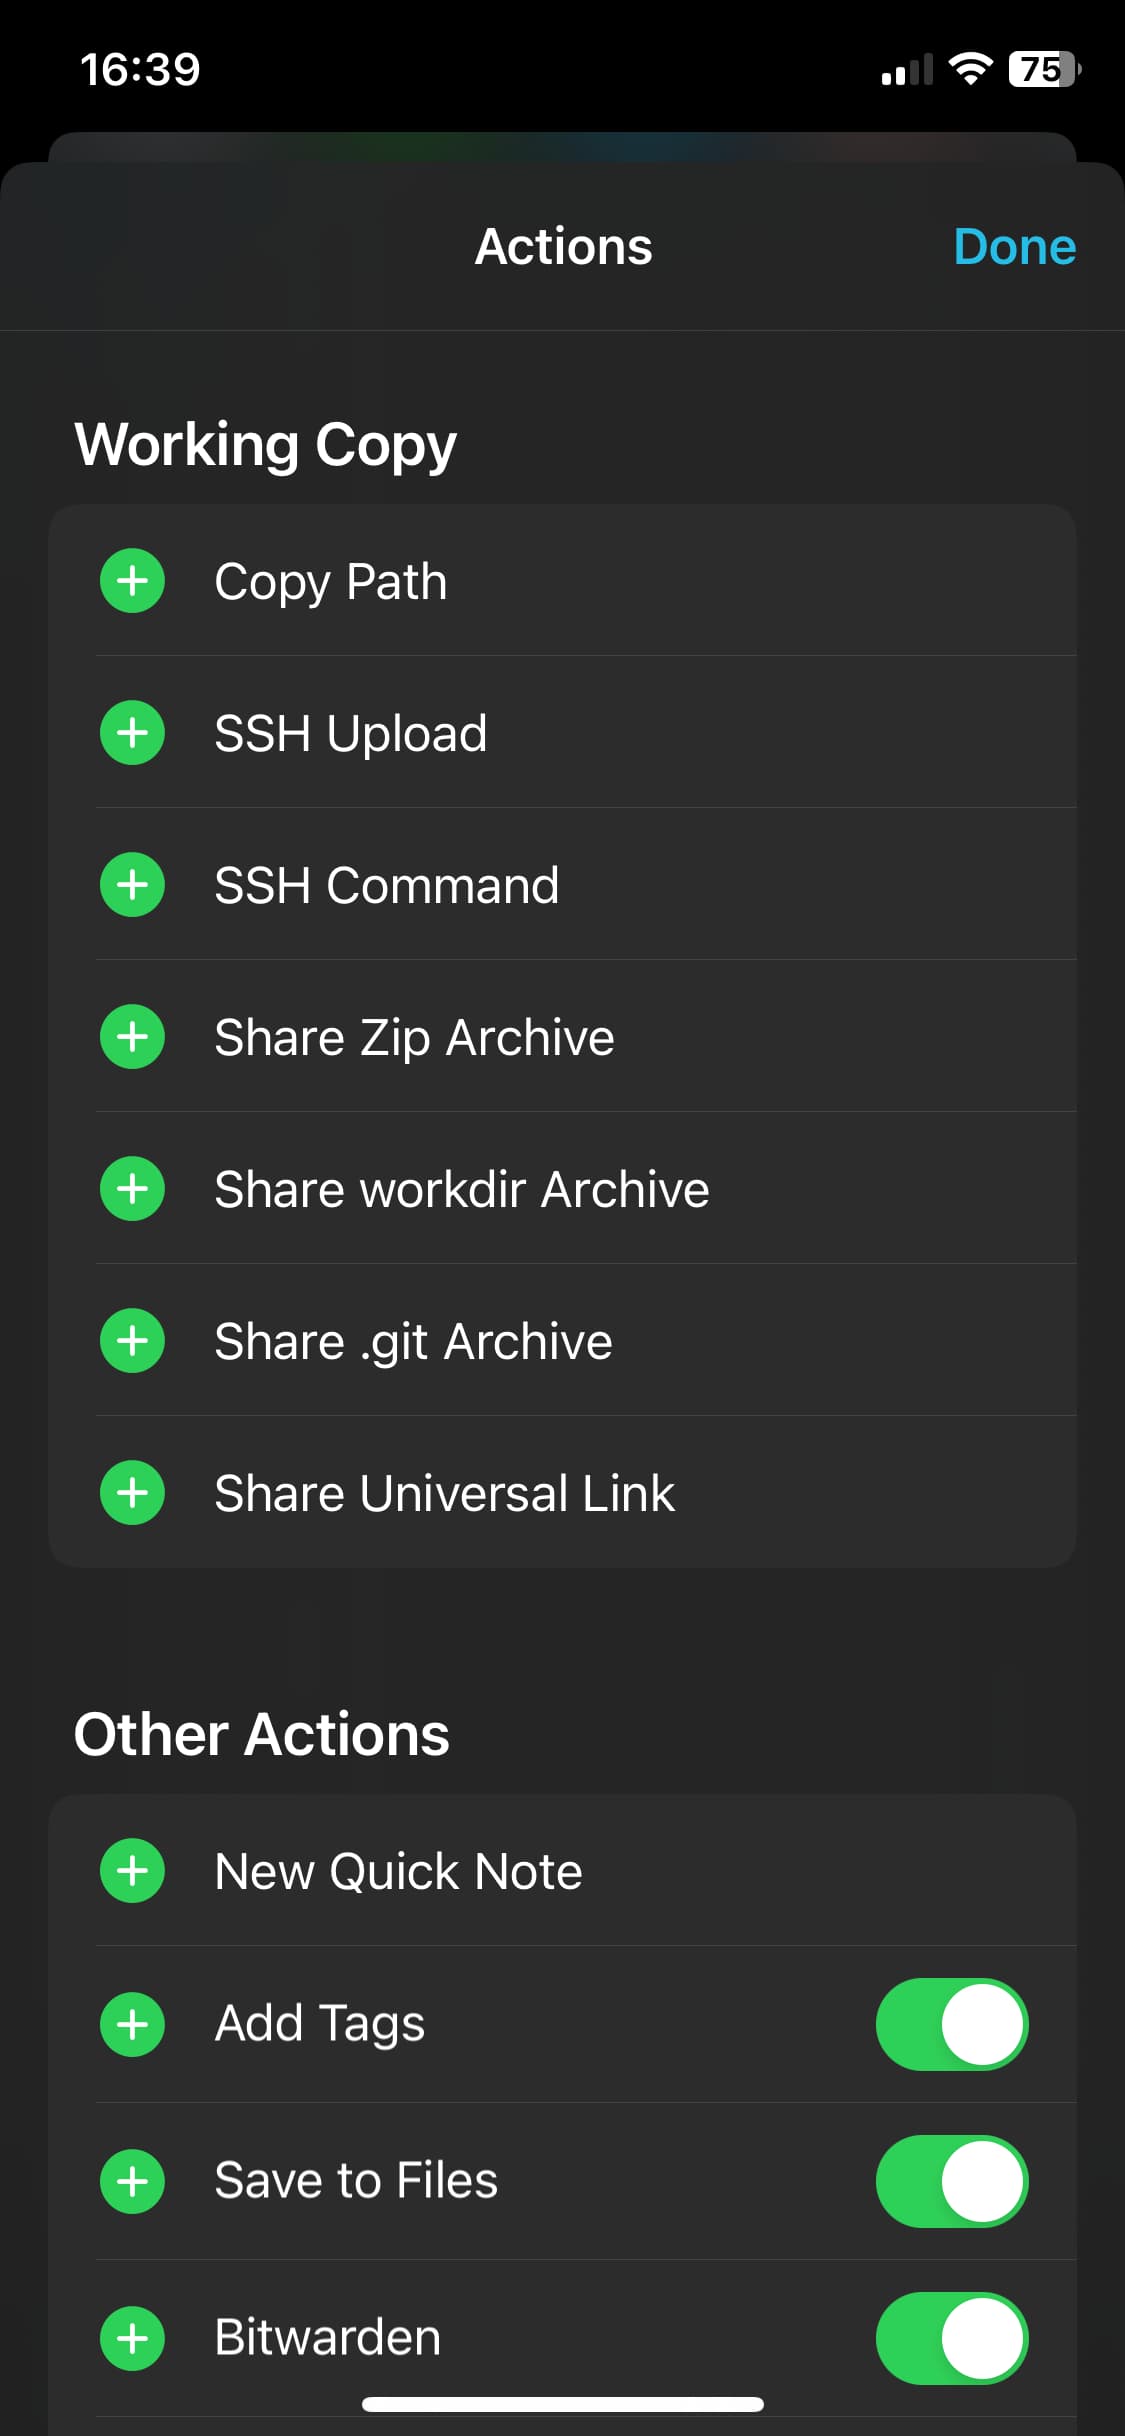
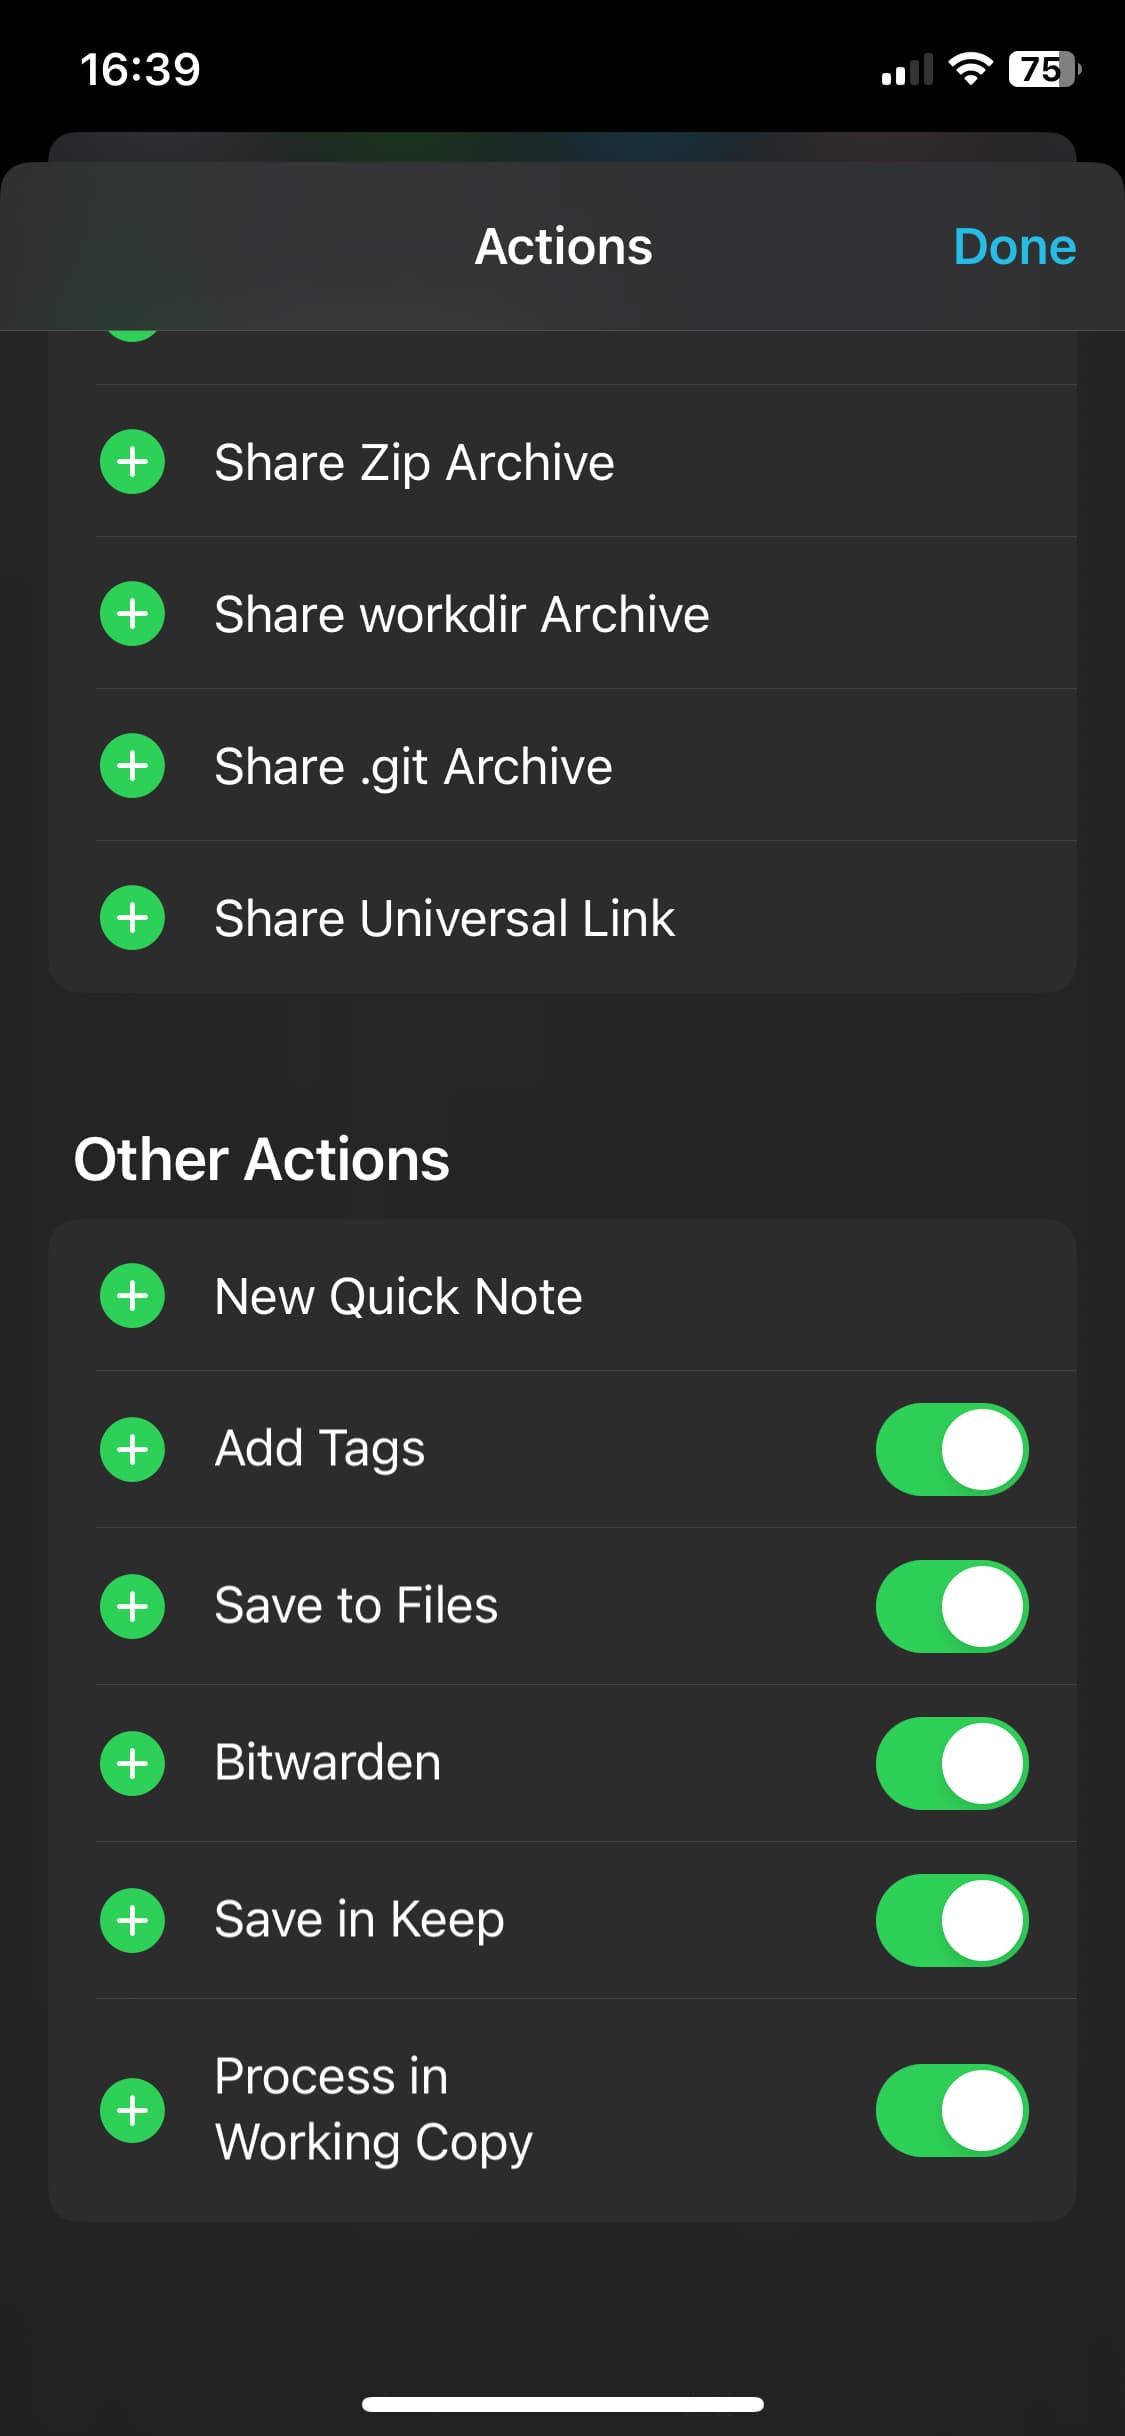
Phone → Shortcuts app → select Automation (bottom) → select + sign (top right) → New Automation: select Create Personal Automation → New Automation: select App → New Automation → When → Is Opened is ticked → Is Closed is unticked → App: select Choose → Choose App: select Logseq → Choose App: select Done → New Automation: select Next → Actions: select Add Action → Actions: select Apps → Actions: select Working Copy → Actions: select Pull Repository → Pull from: select Repository → Choose: select logseq-repo (not welcome to working copy) → Actions: select Next → New Automation: disable Ask Before Running → select Don’t Ask → enable Notify When Run → New Automation: select Done.
5.2. stage for commit:
Phone → Shortcuts app → select Automation (bottom) → select + sign (top right) → New Automation: select Create Personal Automation → New Automation: select App → New Automation → When → untick Is Opened → tick Is Closed → App: select Choose → Choose App: select Logseq → Choose App: select Done → New Automation: select Next → Actions: select Add Action → Actions: select Apps → Actions: select Working Copy → Actions: select Stage for Commit → Stage: select Path → enter * → in: select Repository → Choose: select logseq-repo (not welcome to working copy) → Actions: select Next → New Automation: disable Ask Before Running → select Don’t Ask → enable Notify When Run → New Automation: select Done.
5.3. commit:
Phone → Shortcuts app → select Automation (bottom) → select + sign (top right) → New Automation: select Create Personal Automation → New Automation: select App → New Automation: → When → untick Is Opened → tick Is Closed → App: select Choose → Choose App: select Logseq → Choose App: select Done → New Automation: select Next → Actions: select Add Action → Actions: select Apps → Actions: select Working Copy → Actions: select Commit Repository → Commit: select Repository → Choose: select logseq-repo (not welcome to working copy) → with: select Message → type in: Auto commit from iOS → select done → Actions: select Next → New Automation: disable Ask Before Running → select Don’t Ask → enable Notify When Run → New Automation: select Done.
5.4. push to remote:
Phone → Shortcuts app → select Automation (bottom) → select + sign (top right) → New Automation: select Create Personal Automation → New Automation: select App → New Automation → When → untick Is Opened → tick Is Closed → App: select Choose → Choose App: select Logseq → Choose App: select Done → New Automation: select Next → Actions: select Add Action → Actions: select Apps → Actions: select Working Copy → Actions: select Push Repository → Push: select Repository → Choose: select logseq (not welcome to working copy) → to remote: select arrow → Remote Default → Actions: select Next → New Automation: disable Ask Before Running → select Don’t Ask → enable Notify When Run → New Automation: select Done.
5.5. check auto sync:
Phone → open Shortcuts → select Automation tab (bottom) → should show:
When “Logseq” is closed. Stage for Commit
When “Logseq” is closed. Commit Repository
When “Logseq” is closed. Push Repository
When “Logseq” is opened. Pull Repository
Test 1:
Phone → open Logseq → notification: Opened “Logseq” Running your automation → check journal has 2 lines testYYYYMMDDhhmm (cloned from git cloud repository) and TestYYYYMMDDhhmm (text from 2nd test) → add 3rd line Test<YYYYMMDDhhmm> → close Logseq → notification: Closed “Logseq” Running your automation (x3) → open Working Copy → Repositories → logseq-repo error: main, ahead of remote by 1 commit → open Logseq → notification: Opened “Logseq” Running your automation → close Logseq → notification x3: Closed “Logseq” Running your automation → open Working Copy → Repositories → logseq-repo Application, main (error solved: ahead of remote by 1 commit) → open github → remote repo shows 3 lines.
Test 2:
Phone → open Logseq → enter 4th line Test<YYYYMMDDhhmm> → close Logseq → allow 60 seconds to check git cloud account, by refreshing the web page → desktop → open Logseq → allow 60 seconds to pull git cloud account repository → journal should show 4th line from iPhone Logseq.
Test 3:
LM 21.3 → open Logseq Desktop → journal → add 5th line: test<YYYYMMDDhhmm> → open github web page → 5th line should show → open phone → open Logseq → 5th line should show.
Sources:
Code and earlier guide:
Student free app:
Video (iPad):
https://www.youtube.com/watch?v=c2HrdSOoVD8 https://www.youtube.com/watch?v=FUSlKE19K5I