WARNING: Logseq DB is still in alpha. Use only at own risk of losing data.
Over the past year, the team behind Logseq has been hard at work on a major re-write of the app. The reasons given for this rewrite are:
- to fix problems with data loss
- to allow real-time collaboration (RTC)
But “Logseq DB” (because it is based on a database instead of markdown files as in “Logseq MD”), also has some new tricks up its sleeve. In particular, the way tags and properties work has been completely re-written and is now much more powerful.
At the heart of these new features is what is being called “new tags,” or “NewTags” (as I like to refer to them). These are very similar to “Supertags” in Tana, and I think the web page explaining Supertags is really useful for understanding how and why to use these in Logseq as well:
Use supertags to identify objects in your notes: Examples include #task, #meeting, #trip, #subscription, #person and so on. A good way to check if a supertag is right, is thinking “is a” when adding the tag to a node. A node with the contents “Marisha” is a #person. Oslo is a #city. With an eye for “what things come up in my notes that need to be remembered, organized or actioned”, these are good candidates for a supertag.
Supertags are the beginning of creating collections of objects, like a database: Anything you would make a list, collection or database for, these are good supertag candidates. Each row in a database represents one node. Each column represents the Fields of those nodes.
Supertags give you tools to structure the information of the object: Every time you apply a supertag to an item, it populates with default Fields and Nodes of your choice, to help you organize all important and related information regarding this item. If it is a person, adding a Field for their Phone Number and their Preferred Name might be handy. If it is a todo, you may want a Field with the Due Date. See more under Supertag configuration panel.
The biggest change from Logseq MD is that, while #tag and [[page]] were treated as identical in Logseq MD, they now work very differently. For the past couple of weeks I’ve been using Logseq DB exclusively as my daily driver and I wanted to share my workflows for using NewTags to help other people make the transition when the app is released.
First a warning. Logseq DB is still in “alpha” which means that it isn’t stable enough to be considered “beta,” and the underlying data schema might continue to change. For this reason, you really shouldn’t be doing what I’m doing: using this app for anything other than testing.
How NewTags work
One way to think of NewTags is as templates for properties. You apply the properties to the #tag rather than the [[page]] and when you assign that #tag to a page, it automatically applies a bunch of properties to that tagged page.
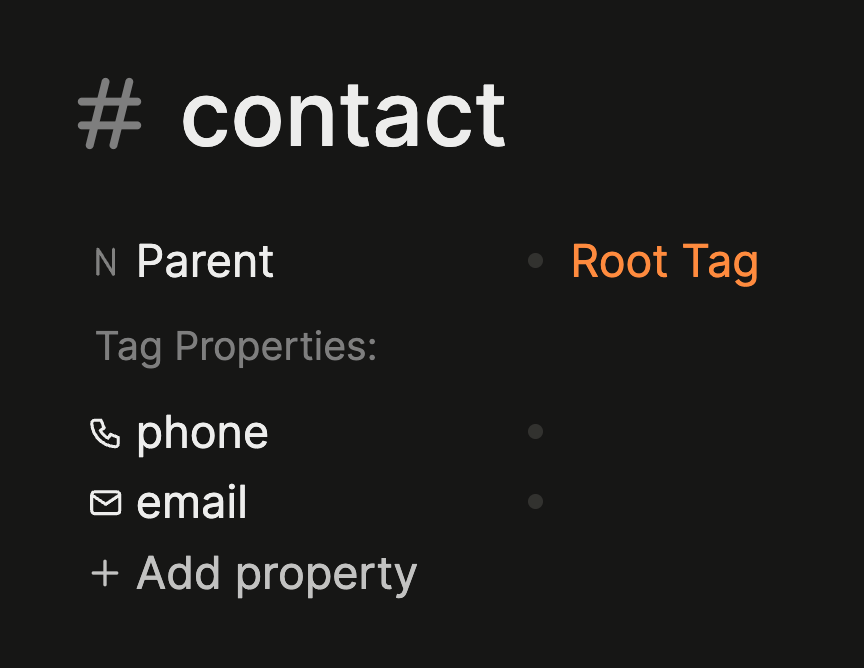
So, for instance, if I have a NewTag #contact with the properties phone:: and email::,
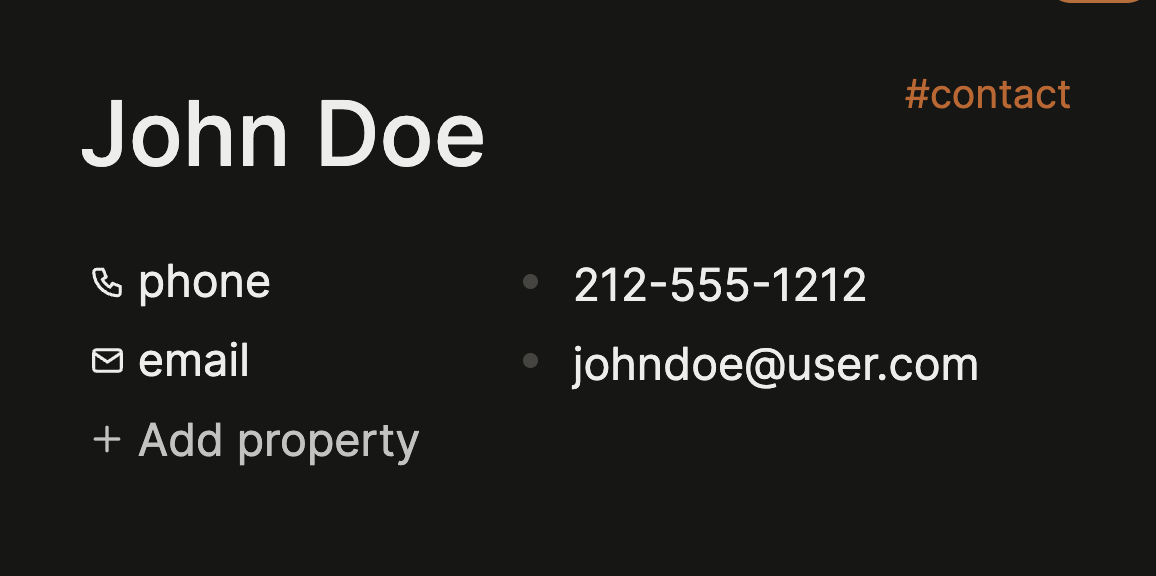
then when I tag the page [[John Doe]] with #contact, it will automatically be given those properties as well, which I can fill out like a form, or a database.
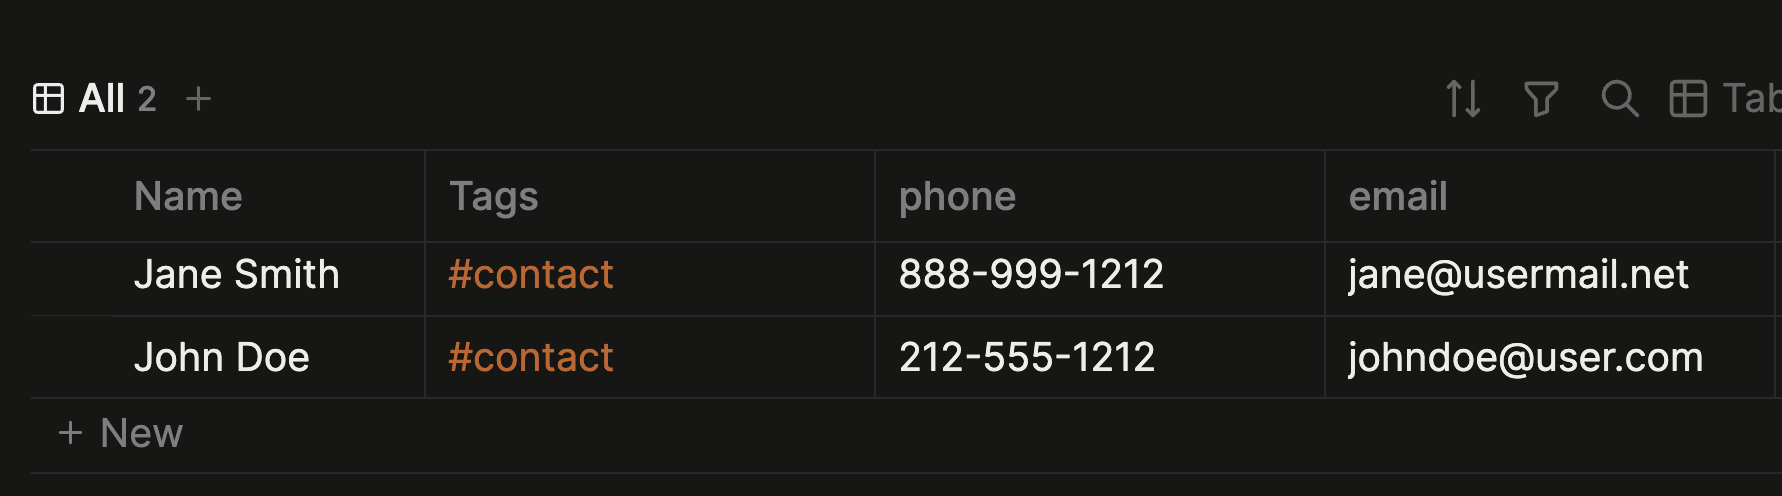
That isn’t all. Now, when you go to the NewTag page for #contact, it will automatically create a table showing all the data from each of the pages tagged with that NewTag. In the above example, I will have a table of names with phone numbers and email addresses listed next to them.
This is clearly very powerful. But when and how to use this? The above text from Tana offers some good advice: whenever you want to create a collection of similar objects using NewTags is a good idea. It is not very useful, however, if you just want to link two pages because they share a topic. In that case, regular [[page tags]] are still best.
For instance, if I have a page for the project “write a post about NewTags” I don’t really need to turn that all into a NewTag because there will be only one such project. While I don’t want #write a post about NewTags, that page is a type of “project” and I do have many other kinds of projects, so it does make sense to add #project to that page. (See more about how I use this below.)
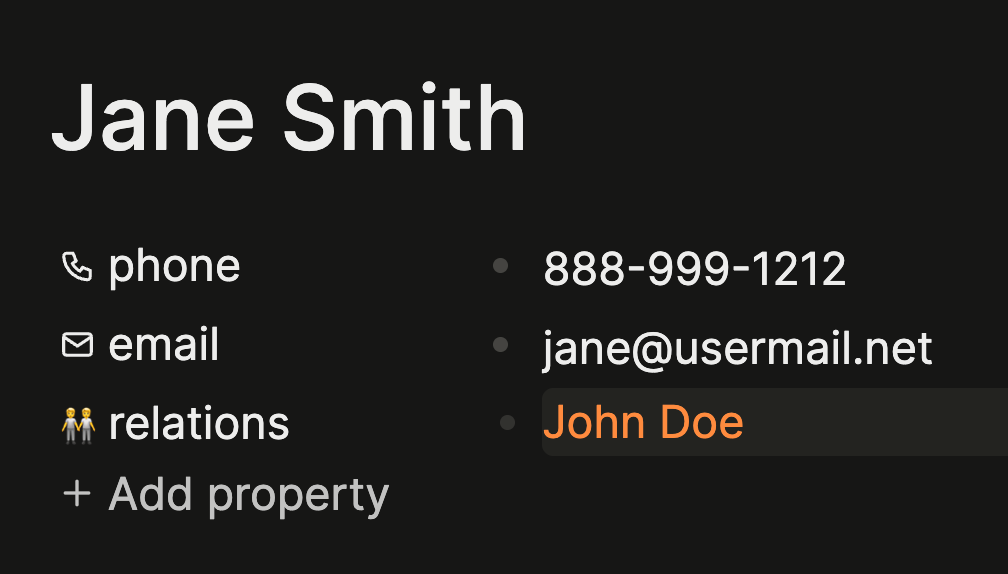
Finally, you can also link NewTags together via properties. For instance, if you have a #contact NewTag, you can create a relations:: property for #contact which allows you to link that person to their relatives. I could list Joe as Jane’s husband.
As you can see, NewTags are very powerful, but how to use them in your daily workflows? In the next section, I will share some of my workflows with you to see how I put this into practice.
My workflows
In this section will go over a few of my most useful NewTags: #url, #question, #project, #event, #overview, #notes, #diary, #contact, and #ck.
Let’s start with #contact, since I already discussed the ideas behind that above. Here are the properties I’ve assigned to this:
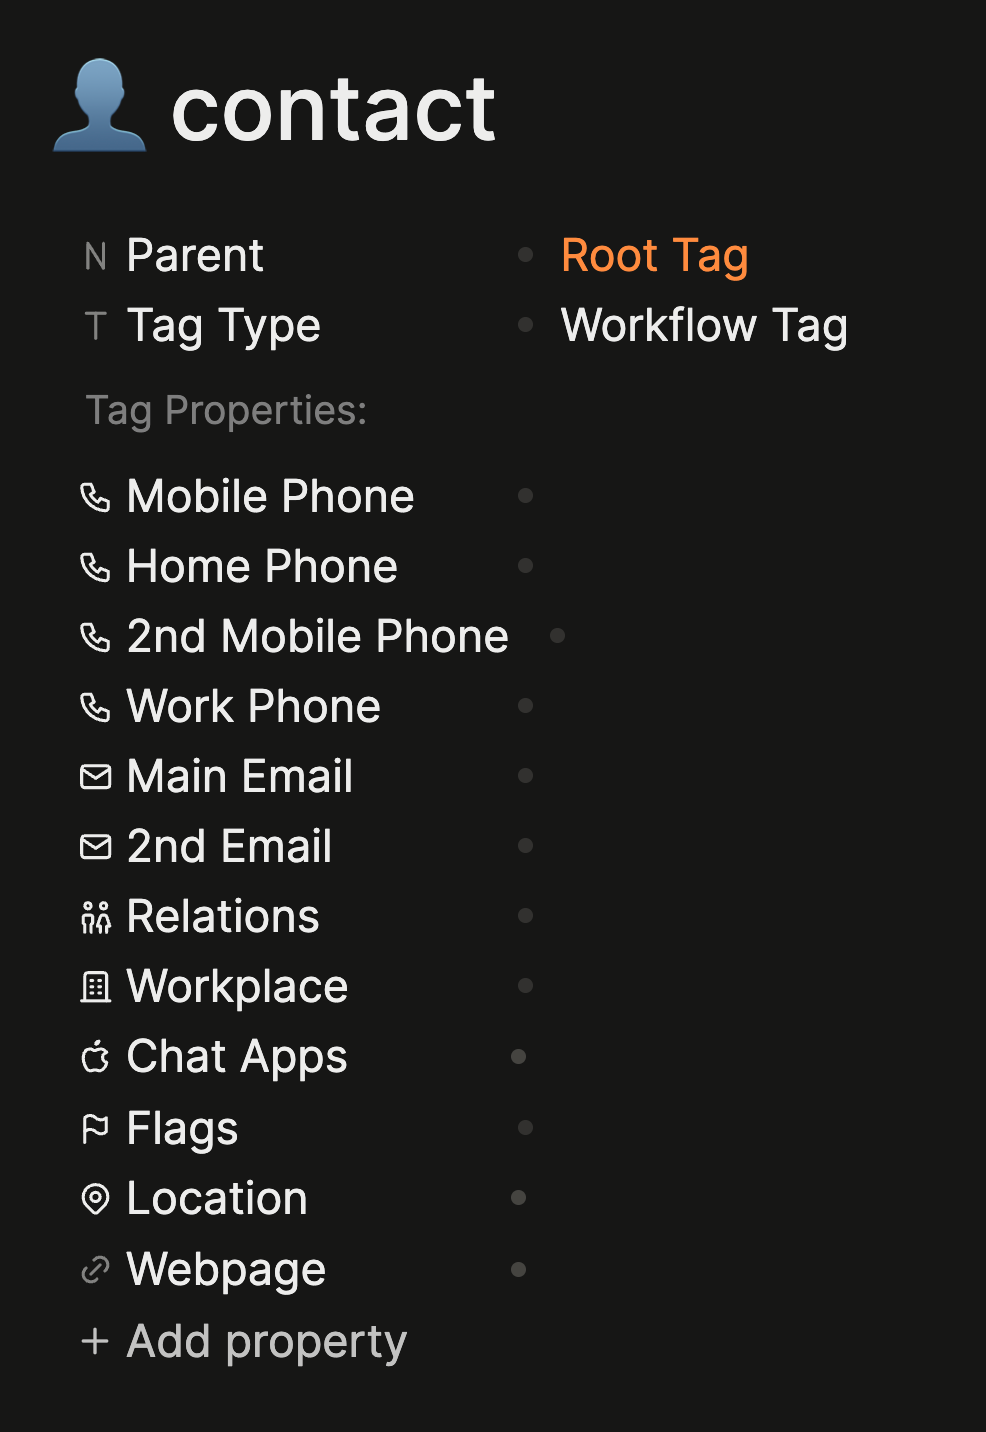
Most of these are fairly obvious, and I already explained how Relations:: works. But I do want to point out the Flags:: property. This is how I categorize my contacts. My flags include: work, businesses, friends, favorites, students, advisees, assistants, etc. This property allows multiple selection so multiple flags can be assigned to the same contact.
Some of my other examples are quite simple. The #url NewTag just has two properties: page refs:: and publication::. The page refs property allows me to link to any [[page reference]] in Logseq. This is useful if I’m doing research. For instance, if I am shopping for new [[headphones]], I can add a URL from the publication:: Wirecutter and link it to the page ref:: [[headphones]]. It will then show up in the backlinks on that page.
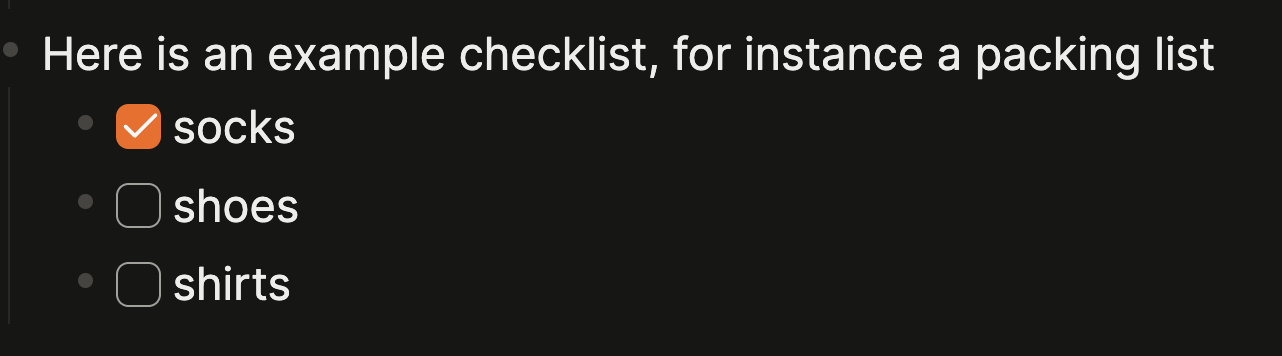
Another simple NewTag is #ck which stands for “check” and just adds a checkbox next to a node. This is great for when you don’t want to use the built in #task features of Logseq DB, but want to be able to check something off.
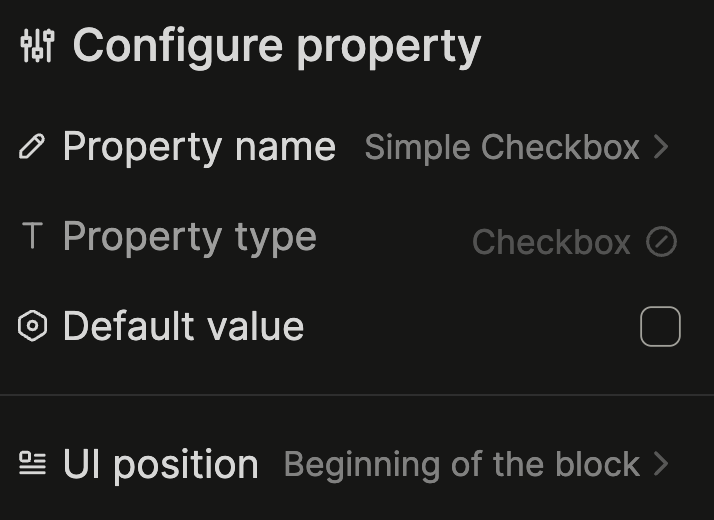
The trick here is using the UI position option to place the Checkbox at the “Beginning of the block.” Just adding #ck will now place a checkbox there. Here is how it looks:
The #overview NewTag is what I use for what some people in the PKMs community call “Maps of Content”: pages that bring together different kinds of data in your graph to give you an overview of that topic. There really aren’t any properties on this NewTag, but it does help me remember and find which overview pages I’ve created.
I use the #diary NewTag to add a sub-section to my journal pages. Logseq “journals” are really in-boxes for everything you enter into Logseq, but what if you want to enter a personal journal entry? I use #diary to do this. I also give it a few properties. I use the same page refs:: property I used with #url, but I also add a mood:: property. Like #ck this goes at the start of the block, and it just shows the emoji, not the property name.
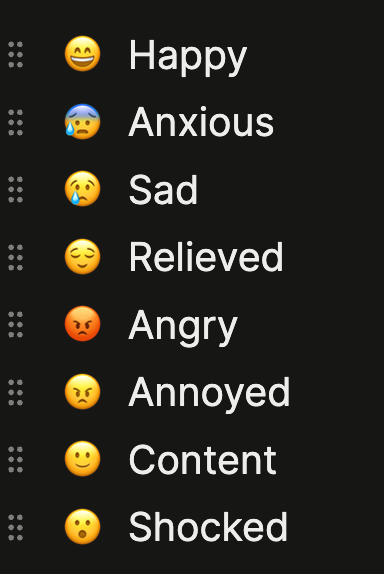
And here is how it looks in practice:

The way I use #question highlights a very powerful feature of NewTags, which is that they can be used together. I will use the built in #task features of Logseq together with #question in order to assign a status and priority to each question. For instance
As you can see, this is just a regular “todo” item, with a “high” priority, but it is marked as a question, giving it a nice red question-mark icon at the beginning. Having its own NewTag allows me to create a NewTag table in which I can sort all my open questions by priority and status. This is very useful for research.
I will often use the #question tag while taking #notes on something. Like #question, I often combine the #notes NewTag with other NewTags, depending on what I am taking notes on. #media is used for video content, such as YouTube, or audio content like podcasts. The #publication NewTag is used for articles, books, or journalism. And the #event tag is used for meetings, lectures, or workshops. I won’t go into details, but each of these has their own set of properties, as appropriate for that kind of data.
Finally, I have the #project NewTag which is probably the most important NewTag I use.
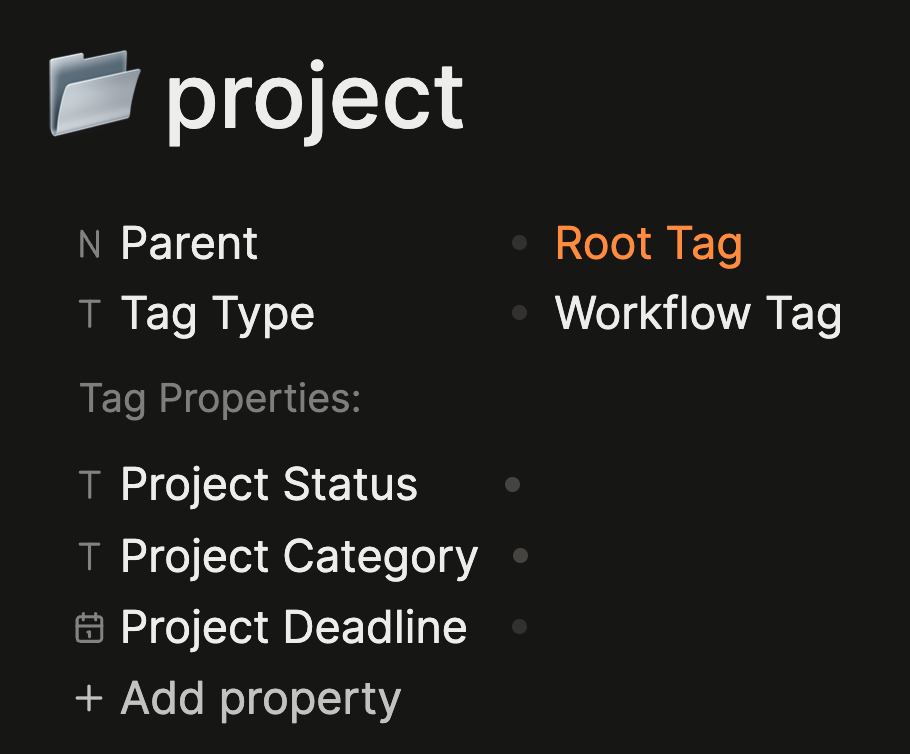
Because projects group together #notes and #contacts and #tasks around a particular goal, I didn’t want to use the built-in #task status markers, so I created my own:
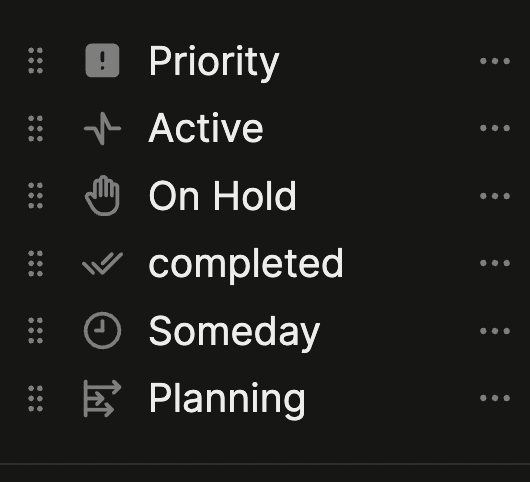
The “categories” for projects are a similar idea to how I used “flags” for my contacts - helping me group all my projects into a few larger groupings, such as “teaching,” “research,” and “writing.”
Conclusion
While NewTags are both powerful and fairly straight foward, figuring out how to use them in your own workflows does require some thought and experimentation. Compared with Logseq MD, it can be a bit harder to modify your setup after you have started to use it. Hopefully this post will give you a sense of what is possible. Do let me know if you have any questions.